Remastersys - Create custom Ubuntu (live) CD - Tutorial
Remastersys is a very handy application that allows you to clone and backup your Linux distribution, including root, home, other partitions, and all personal, custom configuration to a fully deployable, bootable live CD.
Remastersys works for several distributions, including Ubuntu and its derivatives, like Linux Mint and Klikit Linux.
Other distributions with similar capabilities include PCLinuxOS (remasterme), Fedora (Revisor), and several versions of Mandriva live CDs (MCNLive editions). In this article, we will focus on Ubuntu.
Using Remastersys is a very simple procedure. It does not require any advanced knowledge or the use of the command line (although it is possible). A very friendly GUI allows you to create your own bootable CD, along with all your documents and carefully arranged settings, in just a few minutes.
Let's begin.
Install Remastersys
Note: This tutorial was written shortly before Ubuntu 8.10 Intrepid Ibex release. Nevertheless, the same guidelines apply.
The first thing we need to do is install the application. By default, Remastersys is not listed in the official Ubuntu repositories. We need add it.
To add a source, click System > Administration > Software Sources.
This will bring up a menu of all currently used sources that Synaptic (the package manager) refers to when searching for new installations and updates. Click on the Third-Party Software tab for more details.

Next, click Add. This will open another window, where you need to input the new source address. The address that we require is:


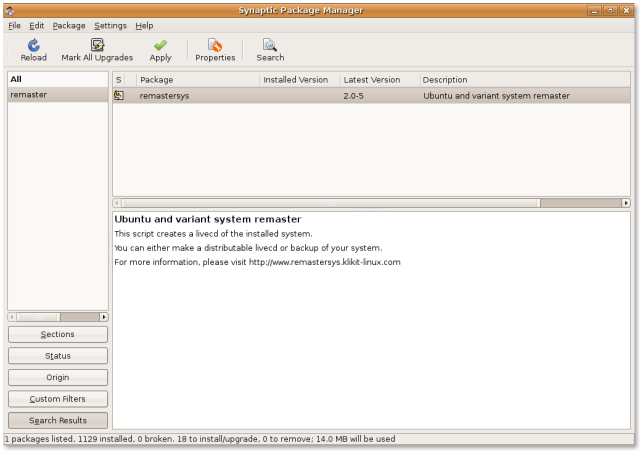
After you have added the new repository, power up Synaptic, look for Remastersys and install it.
Backup your distribution
Now, start Remastersys. The GUI can be accessed via System > Administration > Remastersys Backup.

You have several options to choose from:
Backup allows you to backup your entire installation, along with all the personal data and configurations.
Dist allows you to create a backup, sans your personal data, allowing you share the "remastered" copy with other people.
Modify is useful for configuring the name and the location of the backup file, as well as some other settings. You can also manually edit and change the configurations file - /etc/remastersys.conf. It is advisable to backup the file before making any changes.
Clean is useful only after you have used Remastersys at least once. This function will remove previous builds made by the program and free up the hard disk space. You can also do this manually if you wish. It is always a good idea to run the Clean option before running a new backup.
We will begin with editing the options, perform a cleanup second and then run the backup. If you're using the software the first time, the cleanup is not necessary. However, you should revise the backup options.
Modify configuration file
This is not strictly necessary, but might be important if you are low on disk space.

Clean
This should take a few moments.

Backup
Now comes the really interesting part.

Please note that you must close all windows and unmount network shares while running the utility. The GUI will even throw up a warning to inform you about this. If you do not do this, it is possible that your backup could fail.

Once you have unmounted network shares and closed all windows, click to proceed.

The backup will begin. Depending on the size of your distro, this could take some time. A typical Ubuntu installation with a footprint of about 3.5GB took about 15 minutes to complete. The final image size was only about 750MB.


After the backup is done, you should burn the created image file (ISO) and test it. Indeed, this is our next step.
Test backup
Here we are, booting our custom ISO. Notice the splash screen is different from the typical Ubuntu logo. Furthermore, notice the surrounding window frame, which belongs to VirtualBox. Indeed, as advised by the backup GUI, we're testing the custom.iso file in a virtual machine, to ensure that it works as desired.

And it does.

Conclusion
Remastersys is a very handsome application. In a way, it is an on-the-fly imaging software. But it also allows you to boot your image as a live CD, reinstall it on another machine - or give it out to friends (if you have any), as a ready-to-use Linux, with every little hack and trick you like already implemented.
Remastersys is powerful - and simple. There's no need to mess up with the command line or figure out what partitions you want to backup and whether they are mounted or not. For most people, the use of Remastersys will be a simple affair, just a few mouse clicks and you're done.
Remastersys is an excellent choice for backup and deployment.
Enjoy.
The original link to the tutorial is here: Dedoimedo Remastersys Tutorial
Comments (0)
You don't have permission to comment on this page.